


What is Papercraft?
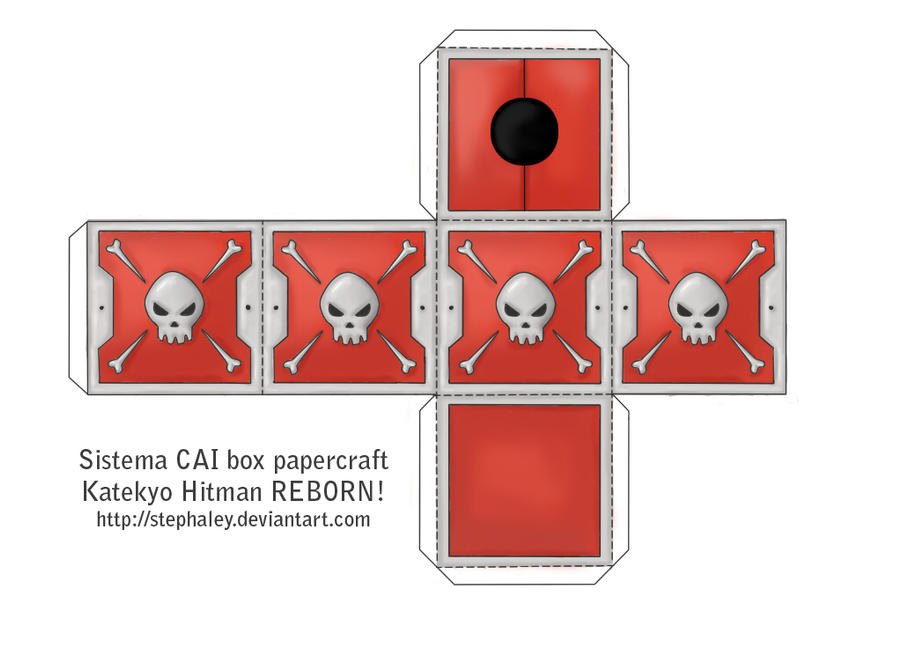
Well, it is a craft with paper as primary source to make three-dimensional objects. You cut out your pattern out of sheets of paper, you score and fold the patterns. Afterward you glue it together to get your object. The most simple form of it is often learned at elementary school for making a paper box or a dice:

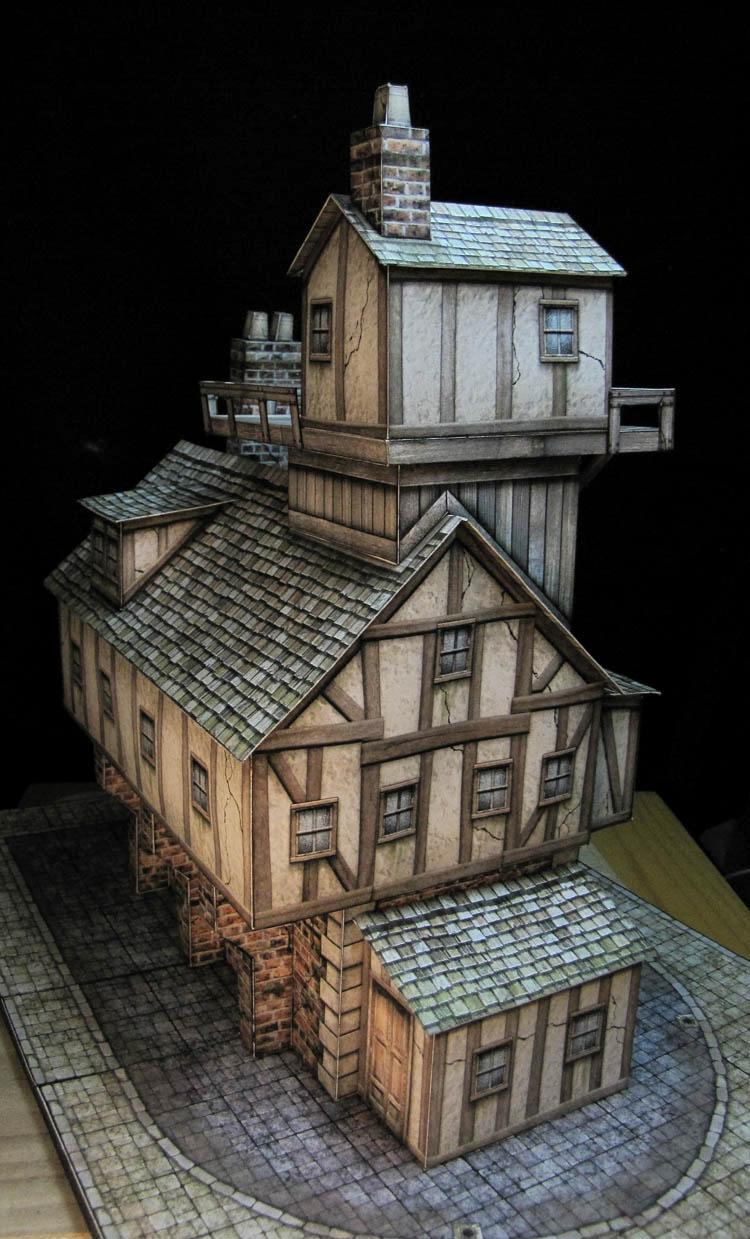
More complex objects can also be made from it going from a scale model of a house to something incredibly huge, but those are really taking lots of time. But if you are a true artist it is worth the effort (same as it goes for every art). A few examples:


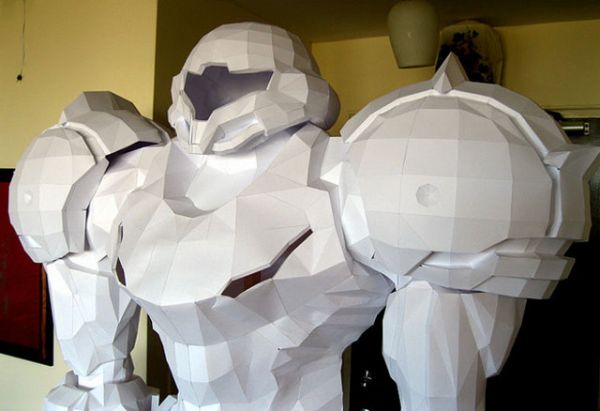
Those are already a lot of possibilities but it is still not everything. Lots of people are using the Papercraft method to make costumes out of it like helmets, armour, etc... These they use for Cosplay, Larp, ... Although they do use some other materials like cardboard or EVA foam or they hardens up their Papercraft with resin and filler and such. A few examples:


Why did I pick Papercraft?
Well, it was actually thanks to Cosplay. And that despite the fact that I haven't done any cosplay at the moment I started with Papercraft. I had joined a Cosplay community on the web to find out more about Cosplay when I saw some members showing their artwork with some Pokemon they made out of Papercraft.
They were very adorable and so they awoke my interests for it and I started surfing the web and found more and more awesome models and soon I started with it making the first one and who else could it be as cute little Pikachu (actually chosen by my godchild, she recognized Pikachu as the first one in the list). The results you can see in the blog (^_^). And so that was the start of my Papercraft carreer.
What do I use for my Papercraft?
Once you got all your stuff for a first time, it doesn't get that expensive. Even a bigger pro is that lots of the tools used, can also be used for making your Cosplay stuff (If you are a Cosplayer that is)!
 |
| A cutting surface to cut your pieces. This always comes in handy, even for cutting other materials like EVA foam, cardboard, ... |
 |
| Cutting knives! I prefer those as they have a good grip. And they cut smoothly. I don't like scissors as they are much harder to handle on the edges. Also make sure you replace your blade in time, a dull one will tear your paper! |
 |
| Embossing Stylus: You can use these to score the fold lines, so it becomes easier to fold your piece. Also if you work with EVA foam, you can use these to do some carving in it. |
 |
| IMPORTANT: Do not use a stylus as below with a plastic grip. I tried it and the plastic broke of after a few days. I prefer the wooden ones or those who are full metal like the knives. |
 | |
| Simple white liquid school glue will do the job for you. In the beginning you'll notice that you put a bit too much glue on your pieces, but you'll adapt fast to it. TIP: wear jeans while you do the gluing! This is my advise for when you got glue on your hands you can wipe it off easily and clean. Other fabrics or wiping it on your skin will leave some dirt on your fingers. This will cause smudge when you glue your next piece and that is something to avoid! |
 |
| Tweezers: Try to get at least the 3rd one. I prefer the 2nd and the 3rd together as the 2nd helps with folding small pieces or holding pieces in a different angle |
 |
| A metal ruler is a must, because others will wear on much faster when you do a lot of cuttings. And a worn ruler makes that you can't cut smooth straight edges. |
Where do I get my resources for Papercraft?
The answer to that is quit simple: The internet! I search on the web for my patterns. The most of them can be found in Papercraft Community's or Art Site's but there are a few sites that also offer specific items like Yamaha does for example. I'll list the url's later on!
Before I take you to the patterns, I'd like to show you that there are with multiple extensions. The easiest ones you can get are the ".pdf" ones. Just print them out and start cutting, and scoring... but then comes the trick... it isn't always clear how pieces should be glued together. Now there is a solution: A program named Pepakura Viewer and it makes use of ".pdo" files. Pepakura Viewer gives you the possibility to see your figure in 3D and shows you what piece goes where, how to fold it and what edges need to match another edge. And best above all... it is free to use.
 |
| This is a screenshot of Pepakura. On the left you can see the model that you can zoom and rotate. On the right you see that it are 6 pages that you can print out. You can zoom on those as well to see score lines more clearly. |
Now an overview of some urls:
- Pepakura Viewer
- Papercraft Museum It has a huge gallery of possible Papercrafts!
- Nintendo Papercraft A lot of Papercraft related with Nintendo
- Yamaha Some beautifull Papercraft models provided by Yamaha
- Google+ and Facebook! Make yourself a member of papercraft communities and learn a lot and admire other peoples artwork!
Greetz and lots of Papercraft enjoyments!
BINOSHI!


